

Why Caulk Keeps Failing in the Same Spots
If you find yourself re-caulking the same tub surround or window frame every year, the problem almost certainly isn't the caulk itself - it's what happened before the tube was even opened. Caulk is a flexible sealant designed to bridge small gaps and absorb movement between materials. When it fails prematurely, it's typically because the conditions it was applied into were working against it from the start.
Understanding the most common mistakes helps you break the cycle. The sections below walk through each error, why it's so easy to make, and what to do differently so your next caulk job holds up for years rather than months.
Applying new caulk directly over old caulk without removing it first.
Why it happens: Scraping out old caulk is time-consuming and tedious, so many homeowners simply add a fresh layer on top, assuming it will bond and seal.
Starting the job on a damp or insufficiently dry surface.
Why it happens: Bathrooms and exterior joints are often wet environments, and waiting for surfaces to dry thoroughly feels like lost time - especially when the repair feels urgent.
Using the wrong type of caulk for the location.
Why it happens: Caulk products look similar in the tube, and many homeowners pick up whatever is on hand or choose based on price alone rather than application requirements.
Skipping surface cleaning and assuming a visual inspection is enough.
Why it happens: Surfaces may look clean even when coated with soap residue, mold-release agents, dust, or oils - none of which are visible to the naked eye.
Cutting the nozzle opening too large and applying too much caulk at once.
Why it happens: A bigger opening seems like it will fill gaps faster. In practice, it makes the bead difficult to control and produces excess that has to be wiped away - often pulling the seal apart in the process.
Not allowing adequate cure time before exposing the joint to water or movement.
Why it happens: Once caulk looks dry to the touch, it's tempting to assume the job is done. Surface skin forms quickly, but the interior is still curing.
Getting the Application Right
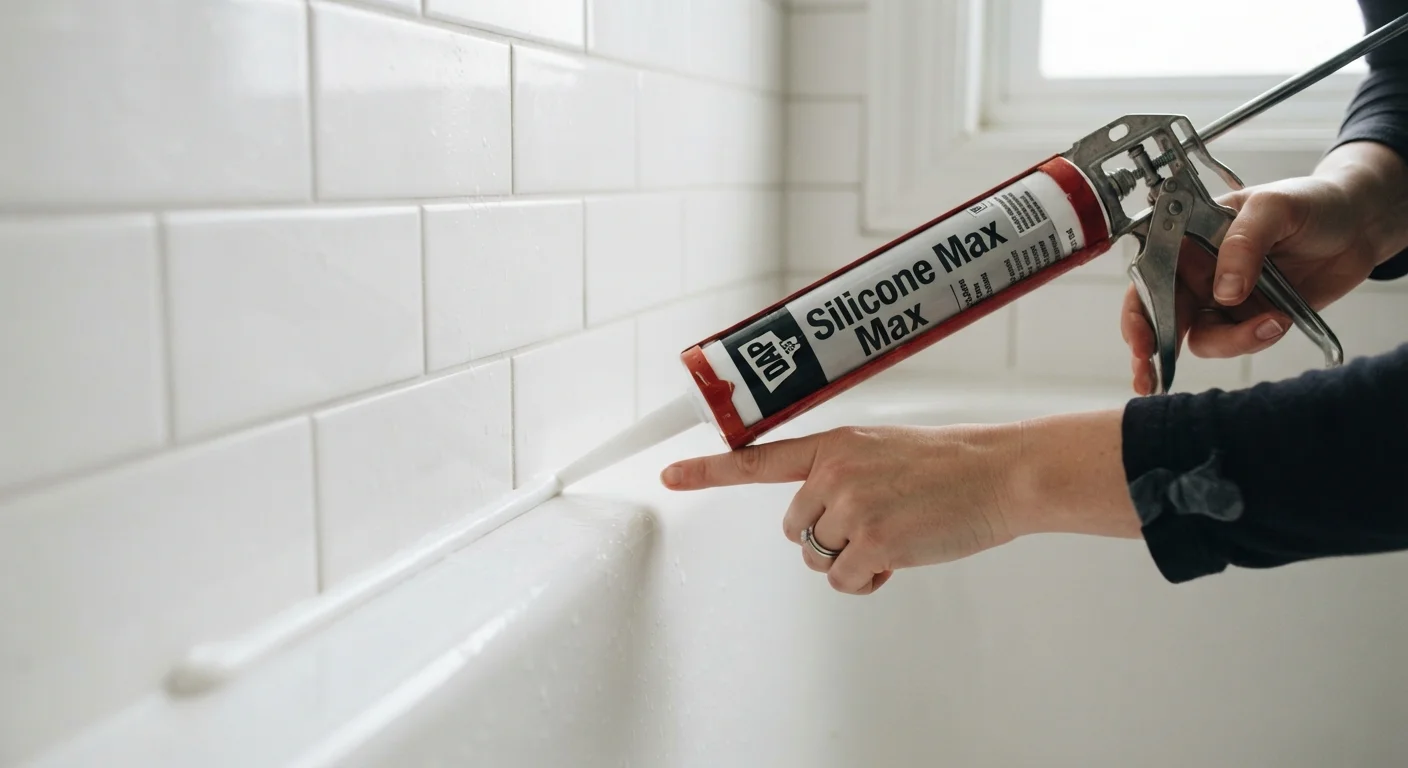
Once your surface is properly prepped and you've chosen the correct product, technique carries the rest of the job. Load the tube, cut the nozzle at a shallow angle - about 45 degrees - and start with a small opening you can always widen. Pull the gun toward you at a steady pace, maintaining consistent pressure. Pushing the gun away tends to force air into the bead rather than seating the caulk into the joint.
Don't Rush Past the Tape Step
If your joint meets a finished surface - such as painted trim, tile, or a countertop - apply painter's tape to both sides of the joint before caulking. Remove the tape immediately after tooling, before the caulk skins over. Pulling tape from cured caulk tears the edge of the bead and undermines the seal you just created.
After laying the bead, tool it immediately using a wet finger, a caulk-finishing tool, or even a damp plastic spoon. This presses the caulk into the joint and creates a smooth concave surface that sheds water rather than collecting it. Wipe away excess before it skins over.
Let the caulk cure fully before exposing it to water or stress. Most silicone products reach a surface cure in 30-60 minutes but need 24 hours or more for full cure - check the product label. In cooler or humid conditions, extend that window. Rushing this step is one of the most common reasons a fresh caulk job fails within its first week.
24-48 hrs
Minimum cure time before water exposure
Most silicone and latex caulk manufacturers specify a full 24- to 48-hour cure period before the sealed joint should contact water, with longer windows recommended in cool or humid conditions.
1 in 3
DIY caulk jobs that fail within the first year
Home improvement industry estimates suggest a significant share of DIY caulk applications fail prematurely, with inadequate surface prep cited as the leading cause.
The content provided on our blog site traverses numerous categories, offering readers valuable and practical information. Readers can use the editorial team’s research and data to gain more insights into their topics of interest. However, they are requested not to treat the articles as conclusive. The website team cannot be held responsible for differences in data or inaccuracies found across other platforms. Please also note that the site might also miss out on various schemes and offers available that the readers may find more beneficial than the ones we cover.