

Summary
22 items · 30–60 minutes
Why Most Pet First Aid Kits Sit Unused
Most pet owners have good intentions. They buy a pre-packaged kit, tuck it in a cabinet, and forget about it until something goes wrong — only to discover it's stocked with supplies they don't recognize, haven't checked in two years, or aren't suited to their actual pet. A dog kit does little good for a rabbit owner, and a kit buried in a garage closet helps no one during a backyard emergency.
Building your own kit — or meaningfully customizing a commercial one — changes the calculus. When you've assembled the supplies yourself, you know what's in there, where it is, and how to use it. That familiarity is the difference between a kit that collects dust and one that actually gets reached for.
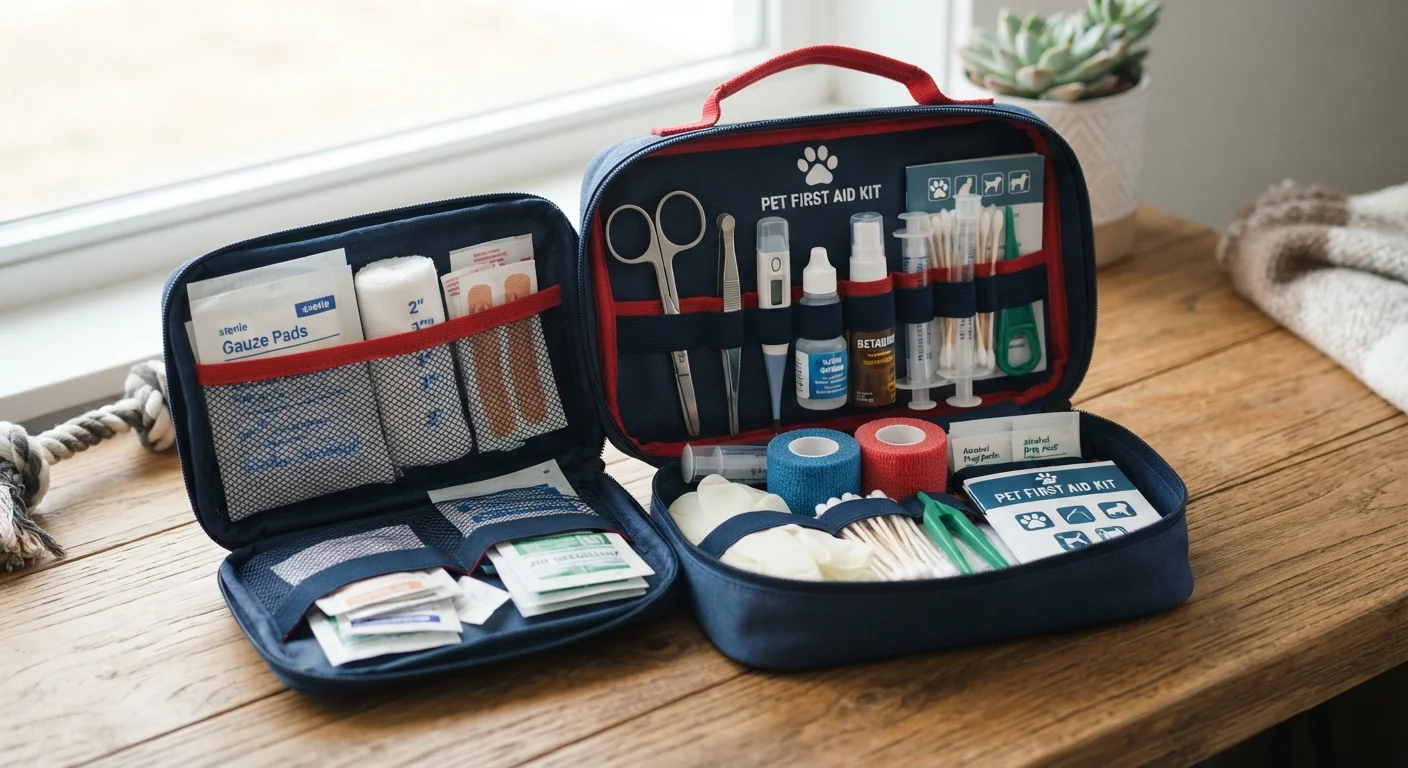
This checklist walks through every category of supplies worth including, organized by priority. It's designed to help you audit what you have, identify gaps, and build a kit that fits your household and your pet. As with any home care preparation, these supplies support first response only — always contact your veterinarian or an emergency animal hospital when your pet is injured or unwell. For a broader look at keeping your pet healthy day-to-day, see the Pet Health & Wellness hub.
First Aid Is Not a Substitute for Veterinary Care
The supplies in a home first aid kit are intended to stabilize a pet and buy time — not to replace professional veterinary treatment. If your pet has been injured, is in significant pain, is having difficulty breathing, has ingested a toxic substance, or is experiencing any emergency, contact your veterinarian or an emergency animal hospital immediately. Do not attempt to diagnose or treat serious conditions at home.
What to Gather Before You Start
Before purchasing anything new, do a full inventory of what you already own. Many households have overlapping supplies from human first aid kits — sterile gauze, medical tape, and disposable gloves, for example, are useful for pets too. Separate out what can do double duty and note what's missing or expired.
Next, consider your pet's specific profile. A senior dog with a known health condition, a cat that goes outdoors, or a small exotic animal each calls for different supplies. Your veterinarian is the best resource for species-specific guidance, especially if your pet has ongoing medical needs. If you've recently brought a new animal home, the first 30 days with a new pet is an ideal time to build this kit as part of your setup routine.
Handled storage container or zippered first aid bag
Keeps all supplies organized, portable, and easy to grab quickly in an emergency.
Permanent marker and adhesive labels
Label the kit clearly on the outside and mark expiration dates on individual supplies.
Smartphone with vet contacts saved
Ensures emergency contact numbers are accessible even if the paper copy inside the kit is missed.
Pet first aid reference card or booklet
Provides quick visual guidance for common scenarios when stress makes it hard to recall steps.
The Complete Pet First Aid Kit Checklist
Use the checklist below to build or audit your kit. Items are grouped into logical categories and marked by priority level so you can tackle the essentials first and add optional items over time.
Emergency Contact Information
Wound Care Supplies
Tools and Equipment
Restraint and Comfort Supplies
Pet-Specific and Household Add-Ons
Never Use Human Medications Without Vet Approval
Many over-the-counter human medications — including common pain relievers like acetaminophen and ibuprofen — are toxic to dogs, cats, and other animals. Do not add any medication to your pet's first aid kit, or administer any drug, without explicit guidance from a licensed veterinarian. When in doubt, call your vet before acting.
Expiration Dates Matter More Than You Think
Saline solutions, wound cleansers, and medications all degrade over time. An expired product may be ineffective or, in some cases, harmful. Check every item in your kit at least twice a year and replace anything that has passed its expiration date, even if it looks and smells fine.
Storing and Maintaining Your Kit
Where and how you store your kit matters as much as what's in it. Choose a container that's easy to carry — a handled box, zippered bag, or small backpack works well. Label it clearly on the outside so any household member or pet-sitter can find it immediately. Keep it at room temperature, away from direct sunlight and humidity, which can degrade supplies faster than most people realize.
Set a recurring reminder — twice a year is a reasonable minimum — to open the kit, check expiration dates, and replace anything that's run low or expired. A simple sticky note inside the lid listing the last review date and what was restocked takes seconds to update and saves real confusion later.
Finally, make sure the kit goes where the pet goes. If you travel with your dog, the kit rides along. If your cat is an indoor-only homebody, a centrally located closet works fine. Common home care missteps between vet visits often come down to preparation gaps exactly like this — the right supplies exist, but they aren't in the right place at the right time.
This article is for general informational purposes only and does not constitute veterinary advice. Always consult a licensed veterinarian for guidance specific to your pet's health needs.
The content provided on our blog site traverses numerous categories, offering readers valuable and practical information. Readers can use the editorial team’s research and data to gain more insights into their topics of interest. However, they are requested not to treat the articles as conclusive. The website team cannot be held responsible for differences in data or inaccuracies found across other platforms. Please also note that the site might also miss out on various schemes and offers available that the readers may find more beneficial than the ones we cover.