

Understanding What You're Dealing With
Drywall damage falls into a few predictable categories, and the right repair approach depends almost entirely on the size and type of the hole. Nail pops - where fasteners push through the surface - and small dings from doorknobs or furniture corners are the most common and easiest to fix. Mid-sized holes from anchors, doorknob impacts, or accidental punctures require a mesh patch and a bit more patience with compound coats. Larger structural holes, such as those left by removed fixtures or accidental kicks, require inserting a new piece of drywall backed by solid framing.
The good news is that virtually none of these repairs require a permit or licensed contractor. For help deciding when a project is genuinely DIY-appropriate versus when to call a pro, see our guide to DIY vs. hiring a contractor.
Check for Wiring and Plumbing First
Before cutting into any wall, verify there are no electrical wires, plumbing pipes, or HVAC ducts behind the drywall. Use an inexpensive stud finder with AC wire detection, or consult your home's blueprints. Cutting into a live wire or pipe is a serious safety hazard and can cause significant water or electrical damage.
The tools you'll need depend on which type of repair you're tackling. Review these before you start:
Putty knife or drywall knife (6-inch)
Applies and feathers joint compound smoothly over the patch area.
Spackle or lightweight joint compound
Fills nail holes, small dents, and forms the body of larger patch repairs.
Self-adhesive mesh patch or California patch
Bridges medium holes (1-6 inches) without needing a wooden backer.
Drywall screws and backing board
Secures a new drywall insert for large holes requiring a structural repair.
Sanding sponge or 120/220-grit sandpaper
Smooths dried compound between coats and before priming.
Drywall primer (PVA primer)
Seals joint compound so finish paint absorbs evenly and hides the repair.
Stud finder with AC detection
Locates studs and identifies hidden electrical wires before cutting into the wall.
Before You Start: What You'll Need
Gather your prerequisites and inspect the work area carefully. Good preparation reduces the number of trips to the hardware store and prevents mid-repair surprises.
What you will need
Assess the damage and gather your materials
Measure the hole or damaged area. Holes under ½ inch (nail pops, small dents) only need lightweight spackle. Holes between 1 and 6 inches call for a self-adhesive mesh patch. Holes larger than 6 inches typically require cutting out the damaged section and inserting a new piece of drywall. Collect all materials before starting so the repair isn't interrupted mid-coat.
Prepare the damaged area
For small holes, use a putty knife to scrape away any loose paper, raised edges, or crumbling compound around the damage. For larger holes, use a drywall saw or utility knife to trim jagged edges into a clean, even shape - a square or rectangle is easiest to patch neatly. Remove all dust and debris with a dry brush or vacuum.
Apply the patch backing or mesh
For holes under ½ inch, skip this step and go directly to compound application. For holes between 1 and 6 inches, center a self-adhesive fiberglass mesh patch over the hole and press it firmly to the wall. For holes over 6 inches, cut a piece of drywall slightly smaller than the opening, attach horizontal wood or metal backer strips inside the wall on each side of the hole, then screw the new drywall insert into those backers using drywall screws spaced every 6 inches.
Apply the first coat of joint compound
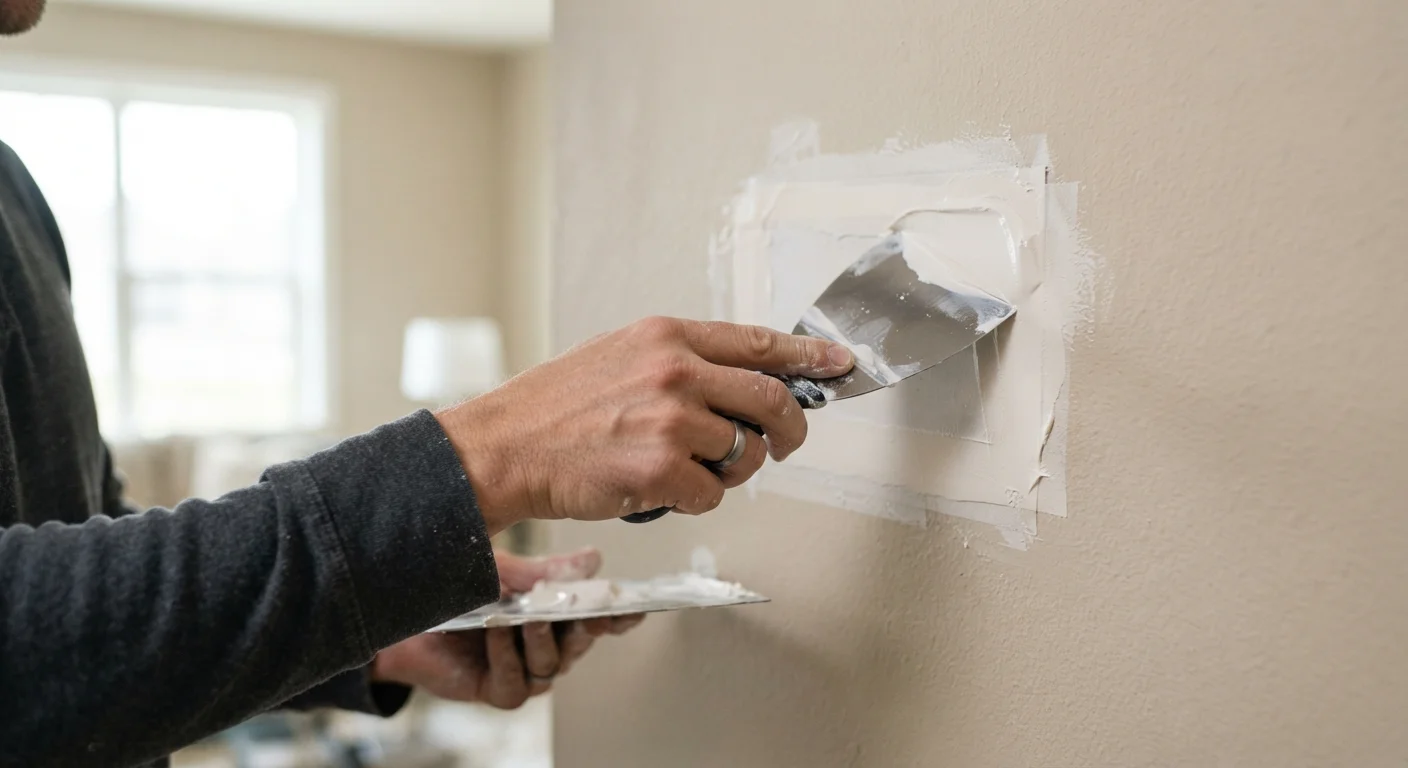
Using a 6-inch putty knife, spread a thin, even layer of joint compound over the patch, extending about 2-3 inches beyond the edges. For mesh patches, press the compound firmly into the mesh weave. For insert patches, fill the seams and screw dimples. Do not try to make this coat perfectly smooth - it just needs to cover the surface. Allow to dry completely (typically 24 hours, or follow the product label).
Sand and apply additional coats
Once the first coat is fully dry, lightly sand with 120-grit sandpaper or a sanding sponge to knock down ridges. Wipe away dust with a barely damp cloth. Apply a second coat with a wider knife (10-12 inches if available), feathering the edges outward 6-8 inches from the repair center. A third thin finish coat is often needed for large patches. Sand lightly with 220-grit between coats and after the final coat until the surface feels flush and smooth to the touch.
Prime and paint the repaired area
Apply a coat of drywall or PVA primer to the sanded repair and let it dry fully. This step is non-negotiable - it prevents the paint from absorbing unevenly. Once dry, apply your finish paint in thin coats, feathering outward to blend with the surrounding wall. If your wall has a texture, replicate it before priming using a sponge or spray texture product, and match the existing sheen level when selecting your finish paint.
Getting a Seamless Finish
The difference between a visible patch and an invisible one comes down to three things: thin coats, patient drying, and proper texture matching. Joint compound shrinks slightly as it dries, which is why multiple thin coats outperform a single thick application. Rushing any coat - even if it looks dry on the surface - leads to cracking or a sunken appearance once paint is applied.
Test Your Wall Texture Before Painting
Many walls have a subtle texture - orange peel, knockdown, or skip trowel - that a flat patch will not match. Before priming, hold a raking light against the wall to see the existing texture clearly. You can replicate light textures with a sponge or spray texture product before the paint stage.
Don't Skip the Primer Step
Painting directly over joint compound - even when it looks dry - often results in a dull, flat spot called 'flashing' that makes the repair visible. Always apply a coat of drywall primer or PVA primer before your finish paint. This seals the compound and helps the topcoat absorb evenly.
With a little practice, most homeowners can achieve results that are genuinely difficult to distinguish from the original wall surface.
The content provided on our blog site traverses numerous categories, offering readers valuable and practical information. Readers can use the editorial team’s research and data to gain more insights into their topics of interest. However, they are requested not to treat the articles as conclusive. The website team cannot be held responsible for differences in data or inaccuracies found across other platforms. Please also note that the site might also miss out on various schemes and offers available that the readers may find more beneficial than the ones we cover.