

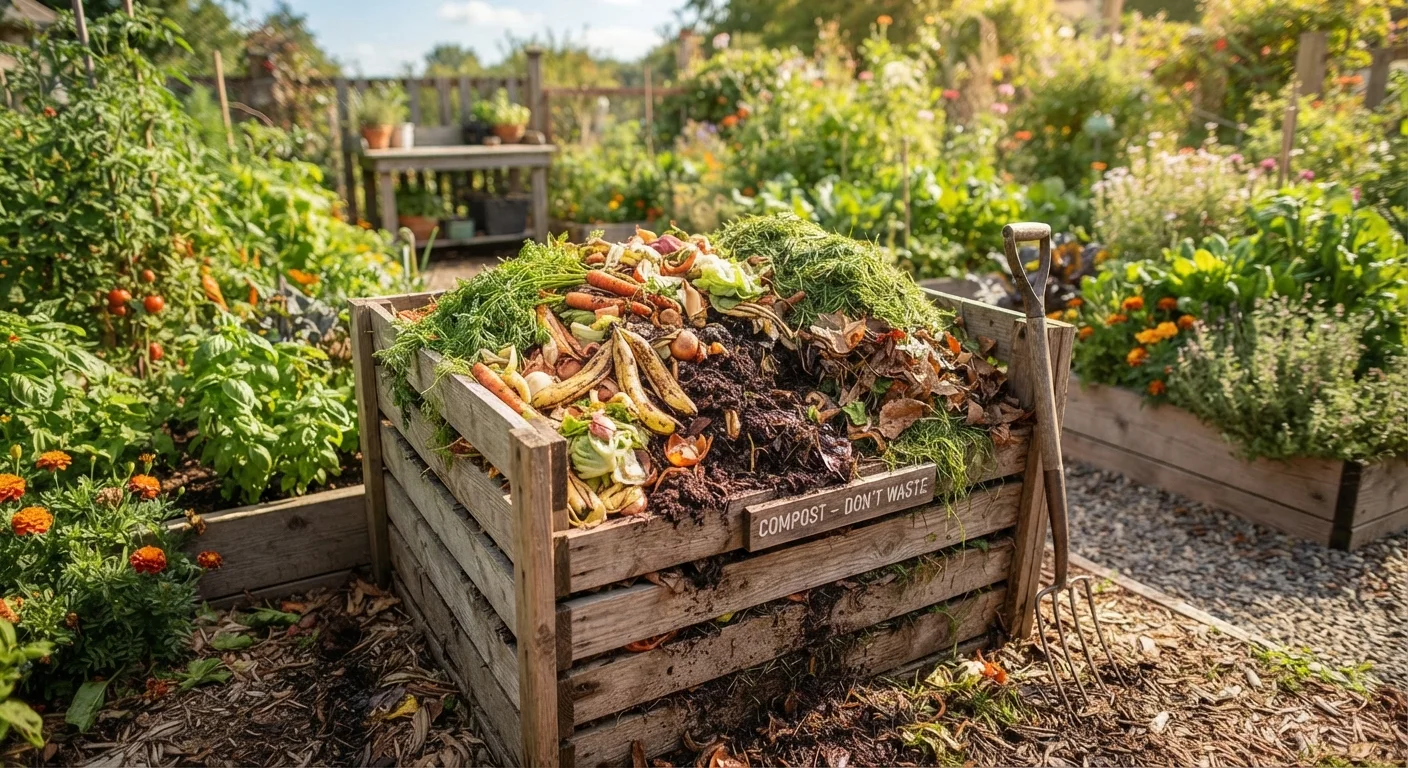
Understanding the Basics of Composting
Composting is a managed process that accelerates nature's own decomposition cycle. Microorganisms - primarily bacteria and fungi - break down organic matter into compost, a stable soil amendment that improves drainage in clay soils, increases moisture retention in sandy soils, and feeds plants slowly over time.
The process depends on four inputs working in balance: organic material, moisture, oxygen, and microbes. When these are properly managed, a backyard pile can produce finished compost in as little as 8-12 weeks. Neglect any one element and decomposition slows dramatically or stalls.
Home composting pairs naturally with broader garden practices. If you're building out a productive growing space, see our guide to starting a vegetable garden from scratch for context on how soil quality shapes every other decision you'll make.
What you will need
What to Add - and What to Leave Out
Compost ingredients fall into two categories. Browns are carbon-rich materials: dry leaves, straw, cardboard, paper bags, and wood chips. Greens are nitrogen-rich: vegetable and fruit scraps, coffee grounds, tea leaves, fresh grass clippings, and plant trimmings. A good working ratio is roughly 3 parts browns to 1 part greens by volume, though this doesn't need to be precise - adjusting as you go is part of the process.
- Add: Fruit and vegetable scraps, eggshells, coffee grounds and filters, tea bags (remove staples), dry leaves, grass clippings, garden trimmings, cardboard torn into small pieces, plain paper.
- Avoid: Meat, fish, bones, dairy products, oily or greasy foods, pet waste, diseased plants, or anything treated with persistent herbicides.
Chopping or shredding materials before adding them speeds decomposition significantly - smaller pieces expose more surface area to microbial activity. Finished compost applied to garden beds works especially well alongside organic mulch; see our guide to mulching garden beds for how the two amendments complement each other.
Foods That Invite Pests and Odors
Meat, fish, bones, dairy, and cooked or oily foods can attract rodents, raccoons, and other wildlife while creating persistent foul odors. These materials also break down anaerobically, producing compounds that slow the overall composting process. Stick to raw fruit and vegetable scraps, eggshells, and plant-based kitchen waste to keep your pile manageable and neighbor-friendly.
Step-by-Step: Building and Managing Your Pile
Follow these steps to set up a functioning compost system and maintain it through to harvest.
Choose a Location and Container
Select a spot that is convenient to both your kitchen and garden, receives partial sun, and has good drainage. Avoid placing a pile directly against a wooden fence or structure. Choose between an open pile, a DIY three-bin system made from pallets or wire mesh, or a purchased enclosed bin - all work, though enclosed bins reduce pest access and retain moisture more effectively in dry climates.
Lay a Brown Base Layer
Start with a 4-6 inch layer of coarse brown material - straw, dry leaves, or wood chips work well. This base layer promotes airflow from the bottom and absorbs excess moisture as wet materials are added above it.
Add Greens and Cover with Browns
Add a 2-3 inch layer of green material - vegetable scraps, fresh clippings, or coffee grounds - on top of the base. Follow immediately with another layer of browns to suppress odors and maintain the carbon-to-nitrogen balance. Continue alternating layers as new material becomes available rather than dumping large quantities of one type at once.
Manage Moisture
The pile should feel like a wrung-out sponge - damp but not dripping. In dry weather, water the pile lightly when turning. In heavy rain, cover the pile or use a bin with a lid to prevent waterlogging, which drives out oxygen and causes anaerobic odors.
Turn the Pile Regularly
Use a garden fork to turn the pile every 1-2 weeks, moving outer material toward the center where temperatures are highest. Turning introduces oxygen, which is essential for aerobic decomposition and for maintaining the internal heat that kills weed seeds and some pathogens. More frequent turning produces finished compost faster.
Recognize and Harvest Finished Compost
Finished compost is dark brown to black, crumbly in texture, and smells earthy - not rotten or ammonia-like. Individual ingredients are no longer recognizable. Once the pile stops heating up after turning and has reached this state throughout, it is ready to use. Harvest from the bottom or outer edges first, where material matures earliest. Apply 1-3 inches to garden beds and work it lightly into the top few inches of soil.
Once your compost is finished and applied, it fits into a broader cycle of seasonal yard care. Our spring yard prep checklist outlines when and where to work finished compost into beds as part of your annual routine.
Troubleshooting Common Compost Problems
Even well-constructed piles run into issues. Here's how to diagnose and correct the most common ones:
- Pile smells like ammonia
- Too many greens. Add browns and turn the pile to increase airflow.
- Pile smells rotten or like sulfur
- Too wet and not enough oxygen. Turn the pile, add dry browns, and check that the bin has adequate drainage.
- Nothing is breaking down
- The pile may be too dry, too small, or lacking nitrogen. Water lightly, add fresh greens, and ensure the pile is at least 3 feet in each dimension.
- Pests are getting in
- Avoid adding food scraps that attract animals (meat, dairy, cooked foods). A enclosed bin with a lid or hardware cloth base helps exclude rodents.
Cold Composting Is a Valid Option
Hot composting - turning frequently to generate heat - produces finished material fastest, but cold composting (simply layering and waiting) works too. It takes longer, often 6-12 months, but requires far less active management. Cold composting is a great entry point if you want to start small and build the habit before optimizing for speed.
The content provided on our blog site traverses numerous categories, offering readers valuable and practical information. Readers can use the editorial team’s research and data to gain more insights into their topics of interest. However, they are requested not to treat the articles as conclusive. The website team cannot be held responsible for differences in data or inaccuracies found across other platforms. Please also note that the site might also miss out on various schemes and offers available that the readers may find more beneficial than the ones we cover.