

Why Mulching Is One of the Highest-Return Garden Tasks
Few garden tasks deliver as much benefit per hour of effort as mulching. A properly mulched bed retains soil moisture, which means less frequent watering - a meaningful advantage whether you're managing a new vegetable garden or established perennial borders. Mulch also moderates soil temperature, keeping roots cooler in summer and buffering against frost heave in winter.
Beyond moisture and temperature, mulch is one of the most effective weed-suppression tools available to home gardeners. By blocking light from reaching the soil surface, a consistent mulch layer dramatically reduces germination of weed seeds. As organic mulches decompose, they feed soil microbes and gradually improve soil structure - a compounding benefit that bare soil simply cannot offer.
“Mulch is the single most beneficial thing most gardeners can apply to their soil. It mimics the natural forest floor, where organic matter is always returning to the earth.”
— Linda Chalker-Scott, Extension Horticulturist and Associate Professor, Washington State University
Choosing the Right Mulch Material
The type of mulch you choose shapes how your beds look, how much maintenance they require, and what happens to your soil over time. Here's a practical breakdown:
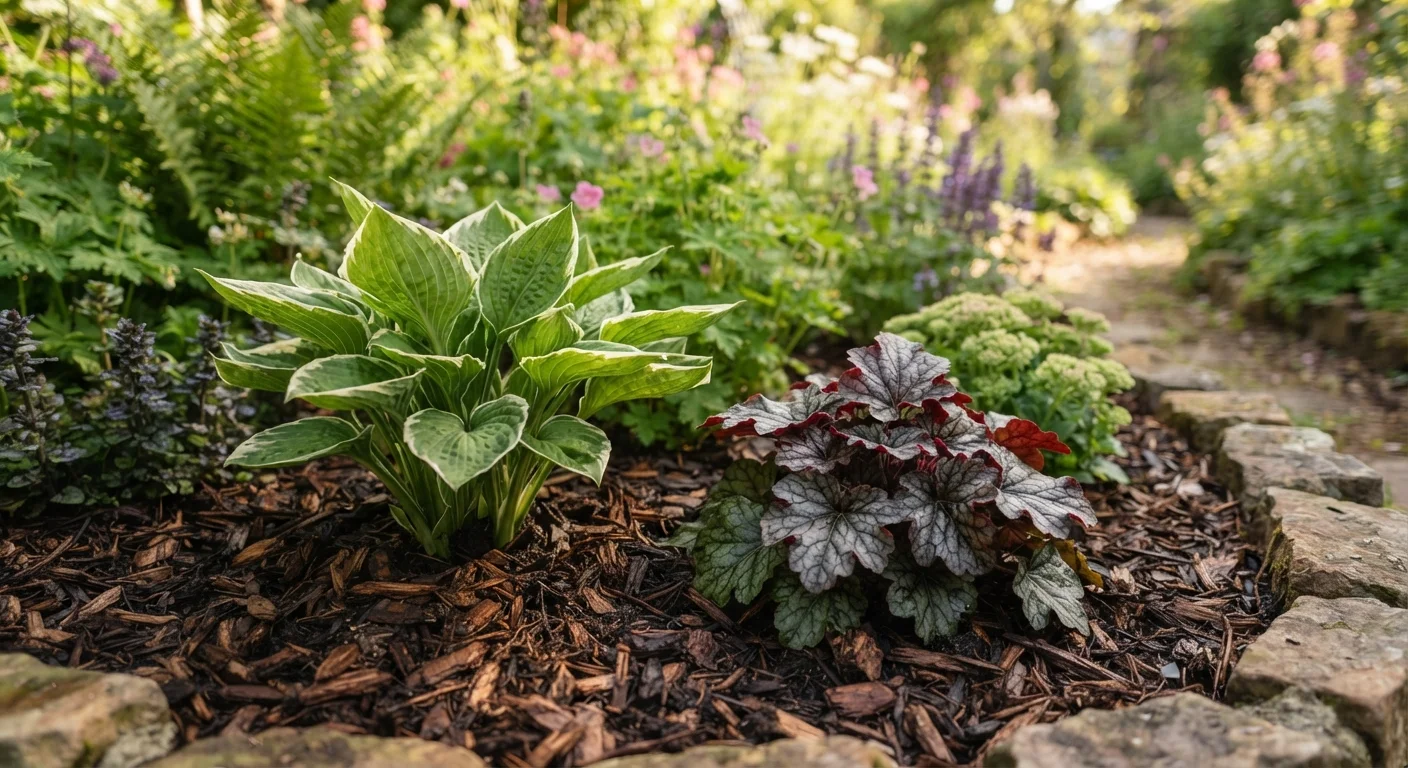
- Shredded bark or wood chips: Long-lasting, widely available, and effective for ornamental beds. Sourced from arborists or garden centers, these break down slowly and need refreshing every one to two years.
- Straw: Ideal for vegetable gardens because it's lightweight, inexpensive, and breaks down within a season to feed the soil. Avoid hay, which carries weed seeds.
- Shredded leaves: An excellent free resource. Mow over fallen leaves to shred them before applying; whole leaves can mat and block water infiltration.
- Compost: Doubles as a soil amendment and mulch, adding nutrients as it breaks down. Learn more about making your own in our guide to composting kitchen and yard waste.
- Pine needles: Suitable for acid-loving plants like azaleas and blueberries; they're slow to decompose and allow good water penetration.
Avoid using rubber or dyed mulch near edible plants. Inorganic options like gravel or landscape fabric have limited value in garden beds and can actually complicate planting and maintenance over time - a point explored further in our piece on common garden myths.
Best Practices for Applying Mulch
Apply mulch at a consistent depth of 2-3 inches across the entire bed.
Less than 2 inches provides minimal weed suppression and moisture retention. More than 4 inches can restrict oxygen and water from reaching roots, and may create habitat for pests.
Keep mulch pulled back 2-3 inches from plant stems, crowns, and tree trunks.
Mulch piled against plant tissue traps moisture and encourages fungal disease, crown rot, and pest activity. The so-called 'mulch volcano' around tree trunks is a widespread but harmful practice.
Remove or till in the previous season's fully decomposed mulch before adding fresh material.
Layering new mulch over thick, compacted old mulch can lead to excessive depth, anaerobic conditions, and drainage issues. Starting fresh - or at least loosening old layers - keeps the system healthy.
Match your mulch choice to the specific plants and conditions in each bed.
Not all mulches suit all situations. Fine-textured mulches can mat around low-growing perennials; coarse mulches may not provide enough insulation for tender annual roots. Soil pH can also be affected by certain materials over time, which matters for plants with specific needs.
Wet the soil thoroughly before applying mulch in dry conditions.
Mulch locks in whatever moisture is present at application. Spreading it over dry soil traps dryness rather than moisture. Pairing good mulching with smart watering habits - like deep, infrequent watering - compounds the benefit.
Getting the application right matters just as much as choosing the right material. Follow these proven practices to maximize the benefits and avoid common pitfalls.
Timing, Maintenance, and What to Watch For
Spring mulching - once soil has warmed slightly - conserves moisture heading into summer and gives beds a clean start. Fall mulching insulates roots going into winter and helps prevent freeze-thaw cycles from heaving shallow-rooted plants. Both windows are valuable; your climate and priorities determine which matters most. For a full seasonal perspective, see the spring yard prep checklist.
Check mulch depth each season. Organic mulches compress and break down, so beds that started at 3 inches may drop to 1 inch by the following year. Top-dress as needed rather than adding a full new layer on top of old, compacted mulch.
Watch for signs of trouble: white, thread-like fungal growth (called artillery fungus in some wood mulches) can be managed by turning the mulch occasionally. Soggy, matted mulch against stems is a rot risk - pull it back. And if you notice poor water penetration after rain, your mulch may have developed a hydrophobic crust; loosen it lightly with a rake.
The content provided on our blog site traverses numerous categories, offering readers valuable and practical information. Readers can use the editorial team’s research and data to gain more insights into their topics of interest. However, they are requested not to treat the articles as conclusive. The website team cannot be held responsible for differences in data or inaccuracies found across other platforms. Please also note that the site might also miss out on various schemes and offers available that the readers may find more beneficial than the ones we cover.