

Summary
18 items · 5-10 minutes
Why a Daily Walkthrough Matters
Most vehicle failures don't arrive without warning - a tire loses pressure gradually, a brake pad wears down over weeks, a headlight burns out the day before you drive after dark. The problem is that drivers rarely notice these changes until they've already created a hazardous situation on the road.
A pre-trip check isn't the same as a scheduled maintenance visit or the deep inspection you'd run before a long road trip - for that, see our Pre-Road-Trip Vehicle Inspection Checklist. This is a faster, eyes-and-ears scan you can build into your daily routine, whether you're commuting five miles or heading across town. Done consistently, it takes under ten minutes and trains you to notice when something feels or looks off.
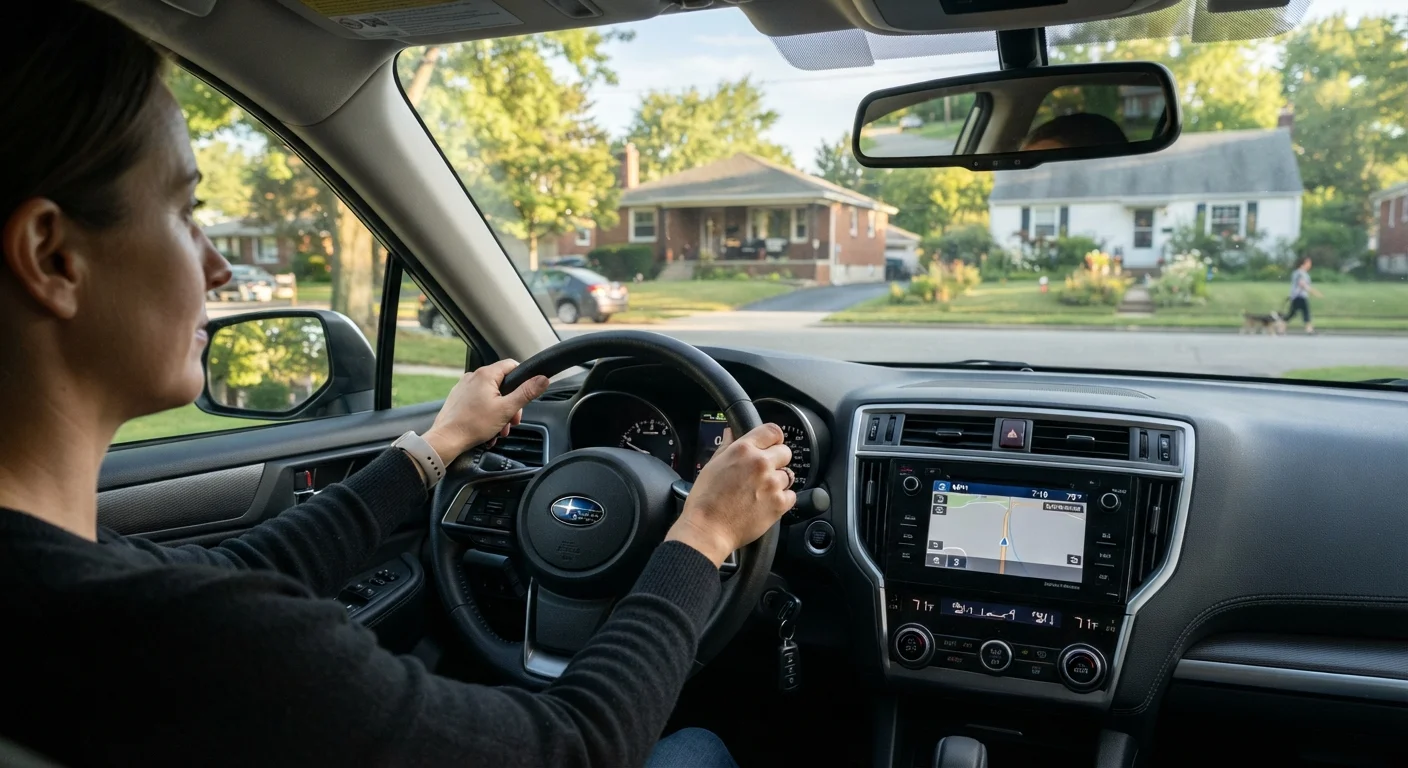
The checklist below is organized by where you start - outside the vehicle before you get in, then inside once you're seated, and finally a brief moving check as you ease down the street.
Don't Rely on Warning Lights Alone
Dashboard warning lights are a last resort - many only illuminate after a problem has already developed to a measurable threshold. A tire can lose significant pressure before a TPMS (Tire Pressure Monitoring System) light appears, and some older vehicles lack the system entirely. Visual and physical checks catch what sensors miss.
What You'll Need
No special equipment is required for this routine check. A few items kept in your vehicle make the process easier and more thorough.
Tire pressure gauge
Lets you accurately verify tire inflation rather than relying on visual inspection alone.
Flashlight or phone torch
Useful for inspecting under the vehicle for fluid leaks in low-light conditions.
Windshield scraper or brush
Clears frost, ice, and snow from glass surfaces before driving in colder months.
Microfiber cloth
Quickly removes interior fogging from the windshield when defrosters need extra time.
The Pre-Trip Safety Checklist
Work through these groups in order. The exterior checks take the most time; the interior and initial-movement checks are quick once you're inside.
Exterior - Before You Get In
Interior - Once Seated
Lights & Signals - Quick Function Check
Initial Movement - First 100 Feet
If you notice anything during the moving check that concerns you - unusual pulling, a grinding sound from the brakes, or a warning light that appears - return to your driveway and address it before continuing. Our guide on brake warning signs explains what different symptoms typically indicate.
Making This Habit Stick
The biggest obstacle to a pre-trip check is the assumption that a vehicle is fine because it was fine yesterday. Tires can drop several PSI overnight in cold weather; a slow oil drip isn't obvious until a puddle appears; a child's toy can roll under a rear tire between trips. None of these require a wrench to catch - just a habit of looking.
Link the walkthrough to something you already do: pick up your keys, do a loop around the car. If you drive in changing weather conditions, the habit becomes even more valuable - poor visibility or slick roads amplify any existing mechanical issue. For weather-specific driving guidance, see Driving in Rain, Snow, and Fog.
For newer drivers still building foundational safety habits, Safe Driving From Start to License covers the broader skill set this routine fits into. And for ongoing vehicle health beyond daily checks, our Seasonal Car Maintenance guide lays out what to inspect and service as conditions change through the year.
When to Stop and Call a Mechanic
If your moving check turns up a spongy brake pedal, pulling under braking, a grinding noise, or a warning light you can't identify, do not continue the trip. Park safely and consult a qualified mechanic before driving further. Driving on compromised brakes or an undiagnosed mechanical fault creates risk for you, your passengers, and others on the road.
The content provided on our blog site traverses numerous categories, offering readers valuable and practical information. Readers can use the editorial team’s research and data to gain more insights into their topics of interest. However, they are requested not to treat the articles as conclusive. The website team cannot be held responsible for differences in data or inaccuracies found across other platforms. Please also note that the site might also miss out on various schemes and offers available that the readers may find more beneficial than the ones we cover.